Most free-to-play Fish It players hemorrhage progress by treating paid Coin Multiplier and Luck Bonus stacks as the only path forward, when a tight cast-reel loop, route-planned island rotation through Crystal Cove into Arcadia and the Ancient Jungle, and timed mutation drops like 8-Bit actually front-load the same gains. These fish it advanced tips walk the route, the 85–95% charge release window, and the potion tick management that separate steady free saves from stalled ones.
Fast-Track Your Save With Fish It Advanced Tips
Reeling through the same starter pond while paying players jump to Arcadia feels rough, but the gap closes fast once you stop guessing. This collection of Fish It advanced tips is built around one core idea: every shortcut a Robux pack gives you has a free equivalent, and the free path actually teaches you better habits. Whether your goal is hitting the Withering Core, hatching a useful Pet Egg, or simply climbing the index with the 8-Bit mutation in your inventory, the strategy below assumes zero dollars spent.
The first two hours decide everything. Spend those hours on a clean routine, and your save scales into the mid and late game without grinding. Spend them clicking randomly, and you will be stuck selling common fish for pocket change while newer players cruise past you on luck potions you did not know existed. According to the official Fish It Roblox page, the game ships with over a million possible fish variations across multiple islands, so depth is not the problem; routing is.
Build a Progression Spine Before You Spend Anything
Free players need a spine: an order of operations that turns one fish into the next upgrade without dead time. The beginner loop is "cast, reel, sell, repeat," but the advanced loop layers efficiency on top of that cycle so every cast pays for more than the last one.
Lock In Codes and Daily Login Rewards First
Before buying a single rod, claim every free source of luck and coins. The active codes list at TheGamer shows that current rewards cluster around luck potions, coin potions, mutation potions, event baits, and lanterns. To redeem them in-game you must reach level 10, open the Store (the red shopping basket), scroll to the code entry field, paste, and hit Redeem. Codes are case-sensitive and rotate frequently, so checking once a day is the single highest-ROI habit a free player can build.
Pair that with the daily login streak. The login track hands out Luck Potions and Coin Potions that stack with code drops, and those potions are exactly what pay-to-win players buy with Robux. Two minutes per day on the login screen recovers the equivalent of a small cash shop pull.
Prioritize Rods Over Bait in the First Hour
A common mistake is sinking coins into bait, lures, or skins before a decent rod. Rods have the highest permanent impact on Casting Distance, Reel Speed, and base Luck, while bait is consumable and resets every cast. The priority table below ranks early purchases by coin-per-percent-gained.
| Purchase | Permanent Boost | Resets on Death | Best For | F2P Verdict |
|---|---|---|---|---|
| Rod Upgrade | Yes (Luck, Speed, Cast) | No | Every island | Top priority |
| Bait | No | Per cast | Targeting specific fish | Use codes first |
| Skin | Cosmetic only | No | Flex only | Skip until endgame |
| Lantern | Light radius only | No | Night/event fishing | Mid-game pickup |
| Potion | Temporary buff | Per use | Burst sessions | Redeem codes, skip shop |
Notice how the permanent rod upgrade sits alone at the top. That column is what you should read first; everything else is a tradeoff. Skins and cosmetics are tempting, but they do nothing for your catch rate, so save them as a flex once your save is already deep.
Map the Islands in the Right Order
Each island in Fish It demands a specific Player Level, quest completion, or rod tier before its best fishing pools, weather events, and rare fish like the Ice Megalodon or Kraken become catchable. Free-to-play players who bounce between zones waste travel time, miss luck bonuses, and lose shop access tied to island reputation, so sequence Snow → Tropical → Volcanic → Coral in that order to stack multipliers efficiently.
Starter Pond → Ancient Jungle → Crystal Cove
The starter pond is fine for learning the click-charge-reel loop, but its coin return collapses past level 15. The first real wall is the Ancient Jungle, which opens up higher-rarity fish and the first real source of Coins Per Cast upgrades. After the Jungle, the Crystal Cove line delivers mutation fish and the 8-Bit aesthetic pool that the community currently chases.
According to the official store page, recent updates added the Arcadia limited-time island, the Withering Core expansion, the 8-Bit mutation, a new highest-rarity Forgotten Hydras fish, and six new pets hatched from a Pet Egg. Each of those layers sits behind the previous one, so skipping ahead is just wasted travel time.
| Island | Unlock Requirement | Notable Drops | Recommended Level |
|---|---|---|---|
| Starter Pond | Default | Common fish | 1–10 |
| Ancient Jungle | Quest chain | Mid-rarity fish, first Luck gear | 10–25 |
| Crystal Cove | Level 25 + coins | Mutation fish, 8-Bit pool | 25–45 |
| Arcadia | Event window or pass | Limited-time fish, cosmetics | 45+ |
| Withering Core | Expansion quest | Forgotten Hydras, end-game bait | 50+ |
Pet Eggs, Mutations, and Why They Matter for F2P
Pets are the silent multiplier for free players. The official Fish It Roblox page lists the Pet Egg as a primary progression item, and the latest patch added six new hatchable pets. A decent pet gives a passive Coin Multiplier or Luck Bonus while equipped, which compounds across every cast. That is the same buff a Robux pet would give, just without the spending.
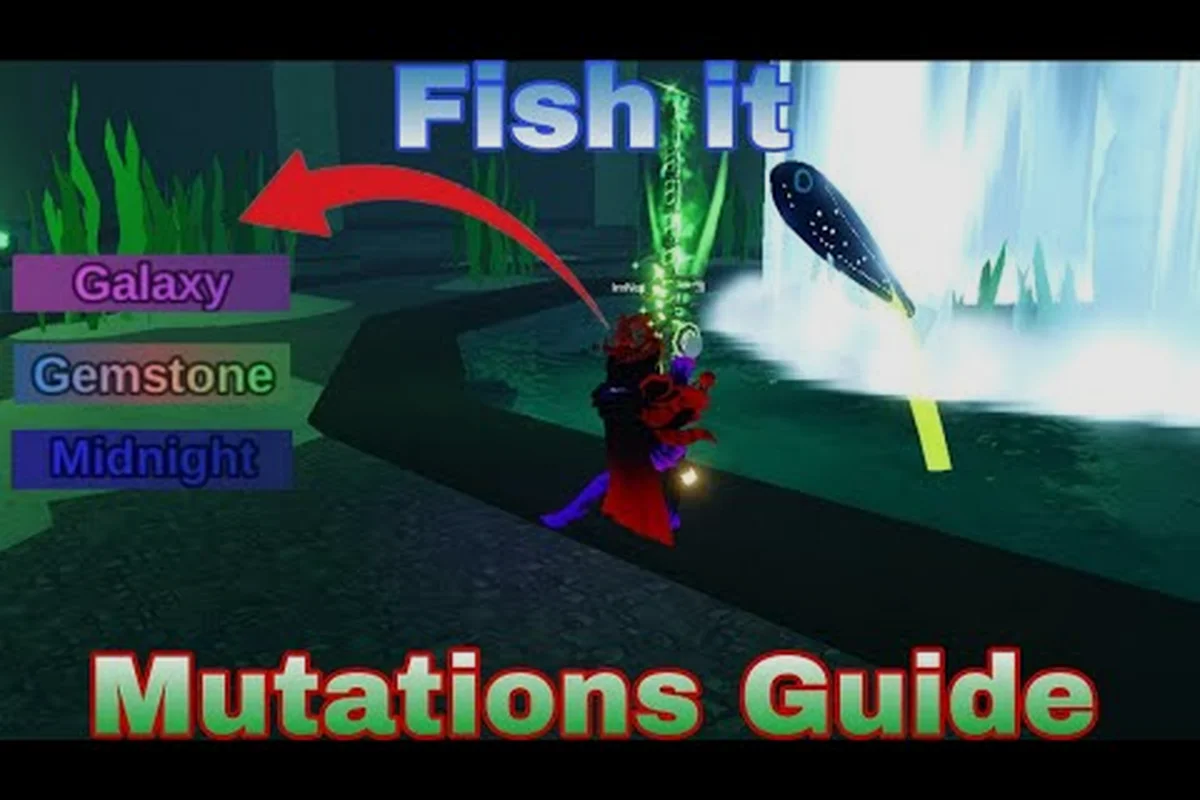
Mutations work the same way. A fish with a rare mutation sells for multiples of its base price, and stacking a Mutation Potion (which you can get from codes) on a high-base fish is the single most profitable trick in the game. Beginners often sell the first mutated fish they catch, which is a mistake; the multiplier on a single high-tier catch can fund the next rod tier outright.
Optimize the Cast-Reel Loop Like a Minigame
Once the map and gear are in order, the cast-reel loop itself becomes the next frontier. Most players click randomly and accept the average outcome; advanced players treat it as a timing minigame, watching the tension bar climb past 60% before initiating the reel-in animation, then mashing the catch button in the green window (roughly 0.4 seconds) to register a Perfect Catch that multiplies coin yield by 1.5x and adds bonus luck toward rare-event fish. Stacking three Perfect Catches in a row activates the Hot Streak buff, which is where serious F2P anglers convert low-tier catches into meaningful progression without spending Robux.
Charge Timing, Reel Rhythm, and Luck Windows
The cast has three controllable phases: Charge (hold the mouse to build power), Release (let go at the right peak), and Reel (click rapidly while a tension bar fills). Overcharging past the sweet spot wastes the cast; undercharging gives a short reach and lower luck contribution. Community testing on YouTube guides, including the FULL BEGINNER'S GUIDE video, shows the optimal release point sits around 85–95% of the charge bar, with the exact timing depending on your current rod tier.
Reel rhythm matters more than most players realize. The tension bar punishes panic clicking and rewards a steady cadence. If you click too slowly, the fish escapes; too fast, and the line snaps. The target is a metronome pace, roughly 4–5 clicks per second with a one-frame pause on each green zone. It feels slow at first, but it lifts your catch rate by a noticeable margin after ten minutes of practice.
| Phase | Common Mistake | Advanced Fix | Expected Gain |
|---|---|---|---|
| Charge | Overcharging to 100% | Release at ~90% | +5–10% cast range |
| Release | Releasing on the falling edge | Release just before peak | Better luck roll |
| Reel | Panic clicking | Steady 4–5 clicks/sec | +15% catch retention |
| Luck Potion | Forgetting to equip | Hotkey to active slot | Multiplicative on rolls |
Use the Cast-Reel Loop to Bank Coins, Then Spend
The end goal of every loop iteration is not just a fish in the bucket; it is a larger next purchase. A free player with discipline can turn a starter rod into a mid-game rod inside an hour of focused casting, while an undisciplined player spends the same hour rebuilding the same pile. A useful habit is to set a "buy threshold" — a coin count that triggers the next rod upgrade — and resist spending below that line. This is the same budgeting habit that paying players automate with Robux; free players just enforce it manually.
Stack Free Buffs the Way Paying Players Stack Paid Ones
The pay-to-win strategy in Fish It boils down to stacking overlapping buffs: luck potions, coin potions, mutation potions, event baits, lanterns, and pets. Every one of those has a free path if you know where to look, and the trick is timing them to overlap.
Time Your Buff Windows
Buffs do not stack additively; they multiply. That means two small buffs during the same session produce more than the sum of their parts, while two buffs spread across separate sessions produce only a linear gain. Community reports from the Fish Atelier group suggest that stacking a Luck Potion with a Coin Potion and a hatched pet on the same 20-minute window is the highest-yield play available without spending Robux.
Once a buff window is active, the discipline of "stack and sell" replaces passive casting: keep fishing non-stop through the full 20 minutes instead of cashing out the moment a Coin Potion or Luck Potion ticks on, because leaving the server or selling mid-window breaks the multiplier chain and forces a fresh, weaker cooldown restart. Track the exact tick-down of each potion on your HUD so the closing 30 seconds line up with a full bucket of high-rarity or mutation-tagged fish, which under a triple-stacked window can easily return 3x to 4x the coins a normal cast would yield.
-
Redeem codes the moment you log in so the buff timer starts ticking.
-
Equip a pet that matches your current goal (luck, coins, or mutation).
-
Cast at the deepest part of the highest-tier island you have unlocked.
-
Sell only when the buff window is closing, not the moment the bucket is full.
Free Lanterns, Free Baits, Free Skins
The community often overlooks lanterns because they look cosmetic, but a lantern's light radius exposes Night-Variant fish that sell at a premium. Event baits, similarly, are distributed through codes and limited-time quests rather than the shop. A new player who keeps a small inventory of free event baits can target the same rare fish that paying players burn Robux to chase, which is exactly the 10 INSANE TIPS AND TRICKS approach veteran YouTubers keep preaching.
For a more mechanical deep-dive on the cast-charge-reel timing itself, the how to fish in Fish It Roblox walkthrough pairs well with this guide and fills in the muscle-memory side that this article leaves to the advanced loop section.
Long-Term Habits That Keep Free Saves Ahead
Short bursts of optimization are easy; sustaining them across weeks is what separates a F2P save from a stalled one. The habits below take minutes per day but compound across seasons, especially when stacked with daily quest resets, weather-dependent fish migrations, and the hourly rod-cooldown rotation that F2P players must time against the server clock rather than skip.
Rotate, Do Not Grind
A common trap is grinding the same island for hours. The returns diminish, and the luck ceiling caps out fast. A better rhythm is to spend 20–30 minutes per island and rotate. This pattern keeps every buff window fresh, exposes you to more events, and aligns with the daily login streak. Over a week, rotation outperforms grinding by a wide margin on total Coins Per Hour.
Track the Meta Through the Official Group
The Fish Atelier group is the verified channel for new islands, codes, and limited gacha events, and joining it costs nothing. Players who check the group page once a day catch the limited-time Arcadia windows and the new mutation drops that other free players only learn about through word of mouth. This is the same information paying players get from the in-game news feed; the difference is just the source.
Plan a Skill Tree, Not a Spree
Mid-game players often panic-buy the next shiny rod and end up with five half-built profiles and no clear direction. A better approach is to pick one progression path — luck-focused, coin-focused, or mutation-focused — and follow it for a full week before switching. The skill tree in Fish It is forgiving, but only if you give it time to stack.
| Path | Main Stat | Best Rod Trait | Best Pet Type | Risk |
|---|---|---|---|---|
| Luck | Rare catch rate | High luck roll | Luck passive | Slower coin income |
| Coin | Sell value | Coin multiplier | Coin passive | Fewer mutation rolls |
| Mutation | Variant chance | Mutation chance | Mutation passive | Volatile sell price |
| Hybrid | Balanced | All-rounder | Any | None standout |
Commitment to a single progression path — luck, coin, mutation, or hybrid — lets the skill tree's passive nodes compound in one direction, so a week-one Luck build typically reaches its +25% rare-catch roll bonus roughly two days sooner than a player who spreads early points across multiple stat branches. The trade-off is the Hybrid row in the table above: flexibility costs you peak specialization, and daily respeccing resets node multiplier streaks the moment you divert points away from your main rod trait.
Frequently Asked Questions
How do I progress fast in Fish It as a free player?
The fastest path is to redeem every code, hit the daily login streak, sequence the islands (Starter Pond → Ancient Jungle → Crystal Cove → Arcadia), and stack Luck, Coin, and Mutation potions during the same 20-minute window. This route routinely out-earns random grinding, and the latest patch added the Withering Core expansion plus six new pets that boost the same loop further.
Can I really play Fish It without spending Robux?
Yes. Every paid perk — luck potions, coin potions, mutation baits, lanterns, even some pets — has a free equivalent hidden in codes, login streaks, the official group posts, and Pet Egg hatches. A disciplined free player who redeems codes daily, equips a pet, and rotates islands every 20–30 minutes closes the gap to paying players within a week.
What is the best free upgrade priority in Fish It?
Rods first, pets second, lanterns third, and cosmetic skins last. Rods deliver permanent boosts to Casting Distance, Reel Speed, and Luck, while pets add a passive multiplier that compounds every cast. Lanterns expose night-variant fish for premium sell prices, and skins have no gameplay value, so they belong at the bottom of the priority list.
Where do I find active Fish It codes?
The active codes list at TheGamer and the verified Fish Atelier group are the two most reliable sources. You must reach level 10 to redeem codes, then open the Store, scroll to the code field, paste, and hit Redeem. Codes are case-sensitive and rotate frequently, so checking once a day is the highest-ROI habit a free player can build.
When should I move from the Starter Pond to the next island?
Move as soon as your current island's average sell price per cast stops covering the cost of your next rod tier. For most free players, that crossover happens around level 15 in the Starter Pond and level 25 in the Ancient Jungle, which is also when Crystal Cove unlocks its first mutation fish. Staying too long on a low-tier island is the single most common F2P progression trap.