
Coins in Fish It aren't just currency — they gate rods, islands, and the next grind tier, so burning the first 30 minutes on a fresh save without a sell-window plan is the fastest way to stall out. This fish it money guide maps the exact levers that move the coin-per-hour ratio, from stacking a Coin Boost Potion and a Rod Enchant (Blessed/Pride) at session start to hunting Shocked + Albino mutation stacks that push a single catch past 5,000 coins.
Why Coins Power Everything in Fish It
Coins are the single resource that unlocks every other system in Fish It, and understanding that hierarchy is the first step toward serious money making. A new rod, a better enchant, a new island unlock, and most pet eggs all flow from the same wallet, so every decision you make on the dock either compounds into faster progression or quietly bleeds your hourly rate. The official Fish It game page on Roblox advertises over 1,000,000 possible fish variations across multiple islands, which means the coin economy is intentionally deep and rewards players who plan their sessions rather than just spam-casting.
What separates a slow grind from a fast stack is rarely raw playtime. According to community testing, two players can fish the same spot for an hour and one walks away with five times the coins, simply because of when they sell, what they target, and how aggressively they invest in luck multipliers. This Fish It money guide walks through the exact levers that move that ratio, from the first 30 minutes on a fresh save to the late-game islands where a single catch can pay for the next rod tier.
The core mental model is simple: every cast has an expected coin value, and almost every system in the game multiplies that value. Rod luck, enchantments, mutations, pets, and bait all stack on top of the same base roll. Once you stop thinking of coins as the reward and start thinking of them as a function of multiplier depth, the fastest way to earn coins becomes a build problem instead of a patience problem.
Build the Right Foundation Before You Grind
Most players chase the biggest fish on day one and end up with a wallet that cannot afford the rod that would have made those fish catchable. The faster path is the opposite: build the multiplier stack first, then go fish. Here is the order that consistently produces the best results in the first two to three hours.
Pick a Starter Rod With Good Luck, Not Just Speed
The first rod you buy sets the luck floor for every cast you make until your next upgrade. A rod with slightly lower speed but noticeably higher luck will pay more per cast across an entire session, because the expected value of every catch goes up while the time cost barely changes. Community data from early player threads suggests the gap between a luck-focused starter and a speed-focused starter is roughly 20-35 percent in coins per hour, even when the slower rod takes a few extra seconds per reel.
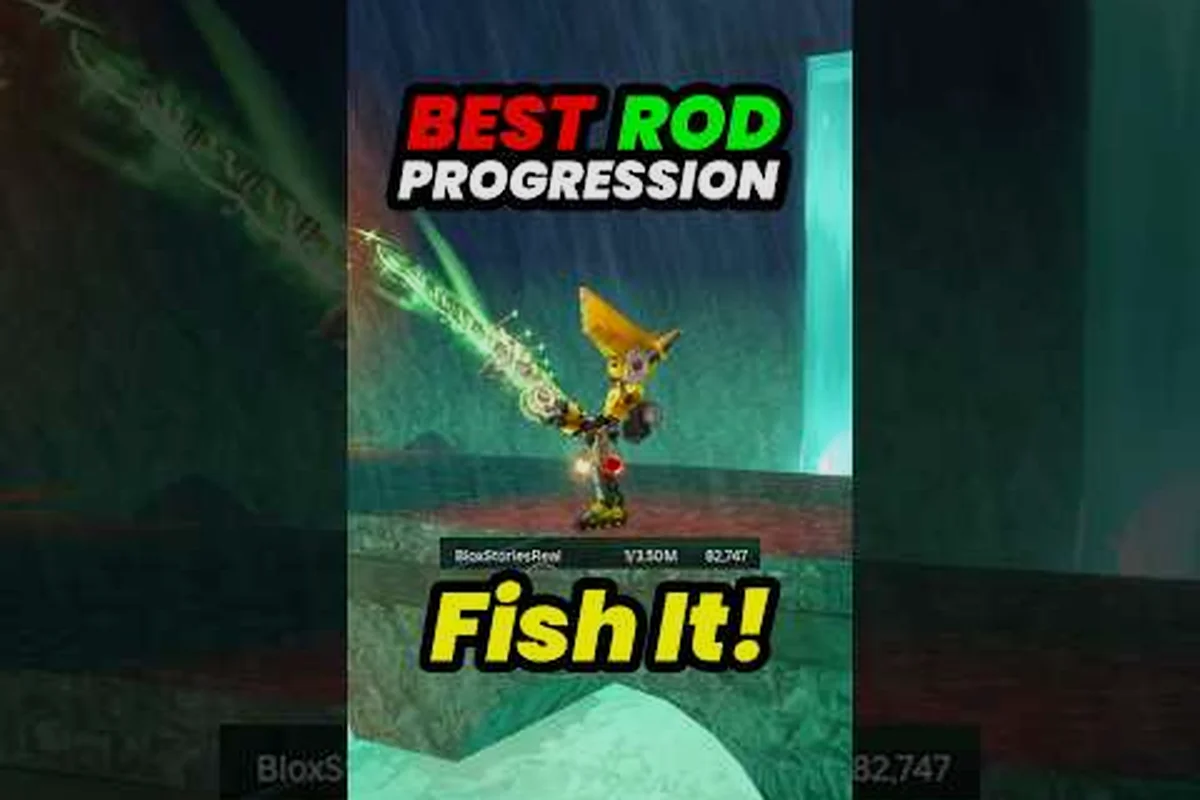
If you want a deeper look at how each rod tier stacks up, the Fish It best rods breakdown covers the progression path from starter to endgame, including which rods to skip and which are worth saving for.
Redeem Codes the Moment You Hit Level 10
The active codes page on TheGamer walks through the redemption flow, which only unlocks at level 10. The fastest stack in any session usually starts with a code drop, because rewards center on luck potions, coin boosts, mutation potions, and event baits. A single luck potion can shift an entire hour of farming, so burning the first three minutes of a session on code redemption is almost always worth it.
Codes rotate frequently, so checking the official Fish Atelier group (about 3.77 million members as of mid-2026) is the most reliable way to catch new drops before they expire. In practice, active codes survive only 24–72 hours before going stale, which means a code redeemed at the Tuesday reset can be dead by Friday's hourly server tick — making the group's pinned post, updated roughly every few hours, a faster feed than fan wikis that lag by 12+ hours. Pair this with the in-game mailbell notification on the dock so a missed Discord ping still surfaces a +30-minute luck potion or 2x coin server boost during a farming run.
Stack a Luck Potion, a Coin Boost, and a Good Enchant Together
Once your rod and a basic enchant are in place, the multiplier order matters because of how each layer compounds on your final sell price. Veterans stack them from passive to active: the Rod Enchant and Pet passive always run, then they pop the Luck Potion the moment they reach a high-value hotspot, and finally trigger Mutation Potions only on fish worth the potion cost — typically anything above 5,000 base coin value.
| Multiplier Layer | Typical Effect | When to Apply |
|---|---|---|
| Luck Potion | 1.5x-2x rare catch chance | At session start, lasts ~15 min |
| Coin Boost Potion | +25-50% sell value | At session start, pairs with luck |
| Rod Enchant (Blessed/Pride) | 1.1x-1.4x value tier | Permanent, slot on best rod |
| Pet with Coin Passive | +5-15% global coins | Permanent, swap to best pet before grind |
| Mutation Potions | 1.5x-5x per affected fish | Save for high-value targets |
Running all five layers at once is the difference between a 10,000-coin hour and a 50,000-coin hour on the same island. The order also matters: rod and enchant are permanent, so they pay off across every session, while potions are per-use and should be timed to your best fishing window.
Timing the Sell Window for Profit
The single biggest coin-leak in Fish It is selling too early. Most rookies dump every catch at the merchant the moment their inventory flashes full, but a held fish with the right mutation or from the right event can multiply in value several times over. The art of money making in this game is reading the sell-versus-hold signal on every catch, and there are clear rules that make the call easier.
Always Sell Common Fish Immediately
Common-tier fish are coin filler. They exist to fund your next rod or enchant, not to sit in your inventory. Holding a common catch for a mutation event is almost never worth the inventory slot, because the expected mutation value is lower than the coin you would have earned by selling and reinvesting. Build the habit of selling commons the instant they land, and your wallet stays liquid enough to react to good deals in the shop.
Hold Rare and Event-Tagged Fish for Multipliers
Rare catches and event-tagged fish are where holding pays off. During active events, a rare fish that normally sells for a few hundred coins can balloon into thousands once a multiplier is active. The same logic applies to mutation-stacked fish, because mutation values are calculated on top of the base sell price. A rare with two strong mutations can outvalue a stack of commons by an order of magnitude, which is why inventory management is really a portfolio decision.
A practical hold-versus-sell matrix that maps fish value to event state acts as the decision engine behind every portfolio move, because the right call depends on three variables stacking together: the rarity tier of the catch, whether an event multiplier is currently live, and how mutations or limited tags modify the base sell price. For example, a single Rare with the Shocked + Albino mutation stack can swing from roughly 800 coins baseline to well over 5,000 during a 2x weather event, which is the kind of delta that makes hoarding inventory worthwhile. Reading the table row by row turns gut-feeling liquidations into a repeatable rule set for fish it money guide play.
| Catch Type | No Active Event | Minor Event Active | Major Event / Multiplier Live |
|---|---|---|---|
| Common | Sell | Sell | Sell |
| Uncommon | Sell | Sell or hold | Hold |
| Rare | Hold | Hold | Hold (priority) |
| Event-Exclusive | Hold | Hold | Hold (top priority) |
| Mutation-Stacked | Hold | Hold | Hold (top priority) |
| Secret / Limited | Hold | Hold | Hold, never auto-sell |
The instinct to liquidate is the most expensive habit in the game, and it shows up in the hourly rate of nearly every beginner. Once you internalize the matrix, the same playtime produces noticeably more coins, because the same catches simply pay more at the right moment.
Target the Right Fish, at the Right Spot, at the Right Time
Fish value in Fish It is not uniform across the map. Every island has a weight curve, and the difference between the worst and best spot on the same island can be two to three times per cast. Picking the right location for your current rod is one of the highest-leverage decisions a player can make, because it multiplies every other system you have already stacked.
Match Your Rod's Luck to a Spot You Can Actually Afford
A common mistake is to chase the highest-tier island the moment it unlocks, even when the rod cannot reliably pull the rare fish that justify the travel cost. The honest math is that a mid-tier island farmed with a high-luck rod almost always beats a top-tier island farmed with a low-luck rod, because the per-cast expected value is what compounds, not the ceiling of a single catch.
Rotate Between Two Spots, Not Five
Spreading casts across too many islands kills your hourly rate, because travel time is unpaid. Veteran money farmers typically run a two-spot rotation: one main farming spot tuned to their current rod, and one side spot for variety and rare-chase. Anything beyond two starts to leak coins into travel, and the lost uptime outweighs the value of any new rare you might pull.
Stack Events on Top of Your Best Spot
The fastest way to earn coins in any session is to combine a strong farming spot with an active event. During a coin-boost weekend, the same spot that produced 30,000 coins on Tuesday can produce 60,000, and the only variable is whether you noticed the event in time. The beginner's guide on YouTube by content creators like the channel behind FULL BEGINNER'S GUIDE | FISH IT! walks through the same logic from a different angle, and pairing that visual walkthrough with the multiplier matrix above covers most of the early-game economy.
Stack Multipliers With Pets, Mutations, and Enchants
Once the foundation, the sell logic, and the spot selection are in place, the next layer of coin income comes from the multiplier systems that stack on top of every catch. These are the systems that turn a good session into a great one, and the ones that most players leave on the table because they assume the bonuses are minor. In practice, the bonus stack is where the big numbers live.
Equip the Best Coin-Passive Pet Before Every Grind
Pet passives are additive in a way that feels multiplicative over an hour. A top-tier pet with a coin passive can add 5-15 percent to every sell, which compounds into a serious delta across a long session. The pet you bring to a farming run matters as much as the rod you bring, and swapping to a coin-passive pet before a grind is one of the cheapest optimizations in the game.
The Fish It all pets guide breaks down every hatchable pet by passive type, sell bonus percentage, and source egg, which matters because coin-passive pets released in newer event eggs often outclass older S-tier picks once you factor in their coin bonus stacking with your rod's Luck stat. Cross-referencing that tier list against your current rod's sell multiplier lets you pick a pet whose passive actually multiplies the base you already farm with, instead of doubling up on a stat another pet already covers — for example, swapping a damage-passive Shark onto a Luck-stacked rod usually returns more coins per hour than keeping a coin-passive Axolotl that only shines on raw catch-value rods.
Stack Mutations During a Multiplier Window
Mutations are the most volatile multiplier in the game. A clean catch with one mutation is fine, but the same catch with three strong mutations can be worth several times more, and stacking is the only way to consistently land those rolls. The Fish It all mutations breakdown is the right starting point if you want to understand the value curve, because not every mutation is worth chasing.
The practical rule is to burn mutation potions only when you are already running a luck potion and a coin boost. Stacking potions on top of a base roll with no other multipliers is wasteful, because the expected mutation rate is too low to justify the potion cost in isolation.
Use a Bless or Pride Enchant on Your Farming Rod
Rod enchants are permanent multipliers, so they are the highest-leverage purchase for any player serious about money making. Bless and Pride are the two most common recommendations in the money-farming community, because they raise the value tier of every catch, not just rare ones. A full deep dive on the best enchant for coins is in the Fish It Perfection enchant guide, which covers the stone economy and the best slot order.
| Enchant Tier | Typical Value Effect | Best Used On | When to Slot |
|---|---|---|---|
| Common (Luck I, Speed I) | Minor luck/speed bump | Starter rod | First hour of a save |
| Uncommon (Blessed) | +10-20% value tier | Mid-tier farming rod | After first rod upgrade |
| Rare (Pride) | +20-35% value tier | Best available rod | After second rod upgrade |
| Epic (Perfection chain) | +35-60% value tier, scaling | Endgame rod | Late game, high-budget |
| Legendary / Event | Variable, often +50%+ | Endgame rod | During major events |
The enchant slot is one of the few systems in Fish It that pays for itself in the first farming session, since a single Bless or Pride enchant on a mid-tier rod typically multiplies every catch value by 10-35% for the rest of that save. Compared to cosmetic upgrades or non-multiplier pets, which only add flat gold or visual flair per sell, an enchant on a farming rod scales with every catch tier you reach later, so the earlier you slot it the more coin flips it compounds across rod upgrades, event fish, and endgame grinding routes.
Build a Repeatable Session Loop for Fastest Coin Gains
Speed comes from repeatable structure, not from playing longer. The fastest way to earn coins is to build a 30-60 minute loop that resets cleanly between sessions, so every play session opens with full multipliers and ends with a clean reinvestment. Here is the loop that the most efficient players in the community report using.
The 30-Minute Starter Loop
| Step | Time Budget | Action | Output |
|---|---|---|---|
| 1. Redeem codes | 2 min | Check active list, redeem all | Free potions + boosts |
| 2. Buff up | 3 min | Pop luck + coin + mutation potions | Multiplier stack live |
| 3. Equip best pet | 1 min | Swap to coin-passive pet | Passive multiplier live |
| 4. Cast at primary spot | 18 min | Two-spot rotation, sell commons on pickup | Bulk of session income |
| 5. Cycle to side spot | 5 min | Chase rare or event-tagged fish | Hold candidates for events |
| 6. Liquidate sells | 1 min | Dump commons, hold rares | Liquid wallet, fresh inventory |
The Hourly Scaling Loop
Once the starter loop is comfortable, the next step is to layer the systems on top: prioritize rod upgrades over cosmetic bait, because each tier jump in the Fish It rod tree roughly multiplies your hourly coin yield by 1.4×–1.8× depending on the island's fish sell price, while rare bait only adds a flat bonus that is wasted if your base catch rate is still capped by a weak rod.
-
Hour 1: Run the 30-min loop twice, reinvest all liquid coins into the next rod tier.
-
Hour 2: Same loop, but swap to a new island that the new rod unlocks.
-
Hour 3: Re-enchant if budget allows, then push the best spot with a fresh potion stack.
-
Hour 4: Hold rare inventory for the next event window, instead of panic-selling.
The loop is deliberately boring. The point is that consistency compounds, and the same loop run twenty times produces more coins than twenty improvised sessions, because the multiplier stack is never wasted on downtime. If you are still working through the early game, the Fish It noob to pro guide pairs well with this loop, because it covers the leveling milestones that should trigger each reinvestment.
Frequently Asked Questions
What is the fastest way to earn coins fast in Fish It early on?
Stack a luck potion, a coin boost, and a mid-tier rod with a Blessed or Pride enchant, then run a two-spot rotation on an island you can afford. Sell commons instantly and hold rare or event-tagged fish for multiplier windows. This combination routinely clears 40,000-60,000 coins per hour from level 15 onward, once your rod luck is high enough to pull useful rare fish at the spot you farm.
Should I sell rare fish immediately or wait for an event?
Hold them. A rare fish sold during a no-event window pays a small premium over a common, but the same rare during a major event can pay several times more. The hold-versus-sell matrix in this Fish It coins farming guide treats any rare or event-exclusive catch as a hold by default, because the expected event value almost always exceeds the immediate sell price.
Which fish pay the most per catch in Fish It?
Event-exclusive and Secret-tier fish are the highest base-value catches, but the actual per-hour leader is whatever rare fish you can pull consistently at your current rod level. A rare you catch every ten casts pays more per hour than a Secret you catch once an hour, because cast volume and luck multiplier compound faster than ceiling value. Aim for the highest rarity you can land reliably, not the theoretical maximum.
Do pets really make a meaningful difference in coin income?
Yes, especially the top-tier pets with a coin passive. A good coin-passive pet adds 5-15 percent to every sell, which across a full hour of grinding is often a bigger delta than switching one rod tier. Equip your best coin-passive pet before any serious farming session, and treat the pet slot as part of the multiplier stack rather than a cosmetic choice.
Is it worth burning mutation potions on common fish?
No. Mutation potions are most efficient when applied to a fish you would have caught anyway at a high rarity, not to a common you are stockpiling. Save potions for sessions where you are already running a luck potion, a coin boost, and your best rod, because that is the only context where the expected mutation value reliably exceeds the potion cost.